


Lawn Care Madison: An Easy Fix for a Thinning Lawn
Hey, it’s Steve Bousquet here with American Landscape & Lawn Science. We’ve been working with homeowners across Madison, Norwich, Groton, and Eastern Connecticut for over 41 years now, so I’ve seen just about every lawn problem you can think of. One thing that comes up more than people expect? A lawn that seems like it’s slowly disappearing. Not overnight, but just quietly thinning out season after season.
I came across a great video from Ryan Knorr Lawn Care that covers this topic really well, and it got me thinking about how much this applies to the lawns we work on right here in Madison. The cool-season grasses we’re dealing with in Connecticut go through a lot: hot summers, wet springs, rough winters. All of that adds up. I figured it was worth breaking this down from a local angle because a lot of what holds these Madison lawns back isn’t what most people think.
Video and screenshots are used for commentary and educational purposes. Ryan Knorr Lawn Care is not affiliated with or endorsing American Landscape & Lawn Science.
Why Madison Lawns Thin Out (Even When They Look Fine)
Here’s something I tell homeowners all the time: a lawn can fool you from a distance. You’re standing at the edge of the driveway and it looks decent. Maybe a little thin, but not a disaster. Then you actually walk out into it and crouch down, and suddenly you can see all this brown, matted debris packed down in the turf. That layer of dead material is called thatch, and in our Connecticut cool-season lawns, it builds up fast.
Kentucky bluegrass, which is common in this area, naturally grows into a tight, dense sod. That’s one of its best qualities. But when dead material starts piling up inside that dense growth, it stops being an asset. Water can’t get through properly. Fertilizer sits on top instead of reaching the roots. The grass has nowhere to spread. And the lawn starts thinning out from the inside out.
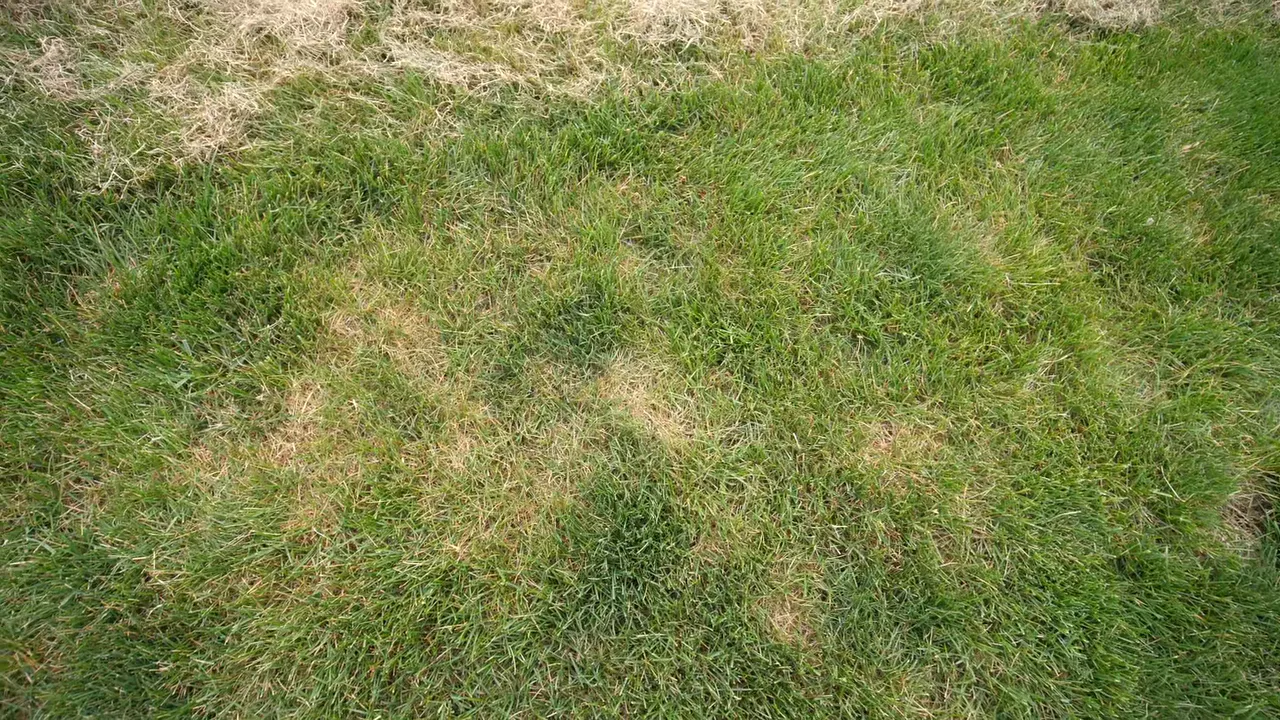
In Lawn Care Madison situations, this is something I’ve watched happen season after season with perfectly good lawns. The grass isn’t gone. It’s just being choked off at the surface level. That’s actually good news, because it means the fix is a lot more straightforward than people expect.
When Should You Actually Dethatch in Connecticut?
Timing matters more here than people realize. The advice you’ll hear generally is “late summer heading into fall,” and that’s still my preference for cool-season lawns. There’s recovery time built in, the temps are dropping, and the grass responds well to the cleanup before winter.
That said, if you look at your Madison lawn in spring and you can see the thatch problem is significant, sometimes you have to act now rather than waiting. The trade-off looks like this:
- Leave it alone and limp through summer with a lawn that’s already struggling.
- Do a measured cleanup in spring, keep it light, and give the grass a fighting chance before the heat arrives.
In coastal Connecticut, we often get a solid window in May before temperatures climb. If you’re looking at highs still in the mid-60s, that’s generally workable. Once you’re staring down upper 70s or 80s consistently, the stress from dethatching on top of heat stress can really set a lawn back. Read the forecast before you commit.
Mowing Height: Get This Right Before You Start
Ideally, you’d cut the lawn down to around 2 inches before running any dethatching tool over it. That shorter height makes the equipment more effective and gets you down into the debris layer more cleanly.
But there’s a real risk of stacking too much stress at once. If your lawn is sitting at 3 inches and you scalp it down to 2 on the same day you’re also pulling out thatch, that’s a lot hitting the grass at the same time. Recovery slows down considerably.
My approach: if conditions are good and you planned ahead, mow shorter a few days before you dethatch. If the lawn is already under some pressure, leave a bit of height and accept that the job will be slightly less thorough. A slightly less efficient cleanup is still a net win over stressing the turf out.
Your Three Dethatching Options (From Easiest to Most Aggressive)
Option 1: Manual Thatch Rake for Spot Work
If you’ve got a small section or just a handful of problem spots, a manual thatch rake is actually a solid choice. These rakes have curved tines designed to dig into the turf and pull out dead material without yanking up the healthy grass. You can target exactly where you need to work instead of running a machine over the whole yard.
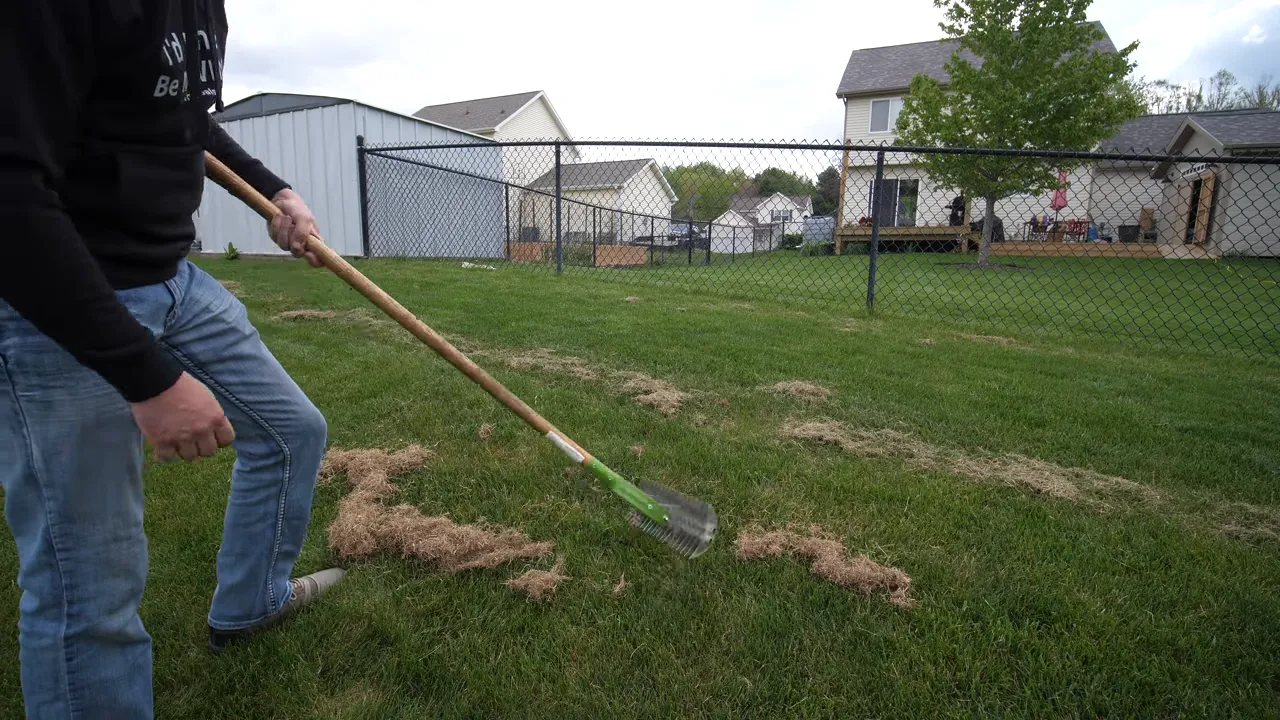
The downside is obvious. On a larger property, it becomes a serious workout fast. This is best when:
- You have a smaller yard or specific problem areas.
- You want full control over where you’re working.
- You’d rather not buy or rent powered equipment.
Option 2: Electric Dethatcher for Medium to Large Areas
For most homeowners here in the Madison area, an electric dethatcher hits the sweet spot. These machines have rotating tines underneath that comb through the turf and pull up the debris. You guide it like a mower, and it throws the material out behind it for cleanup afterward.
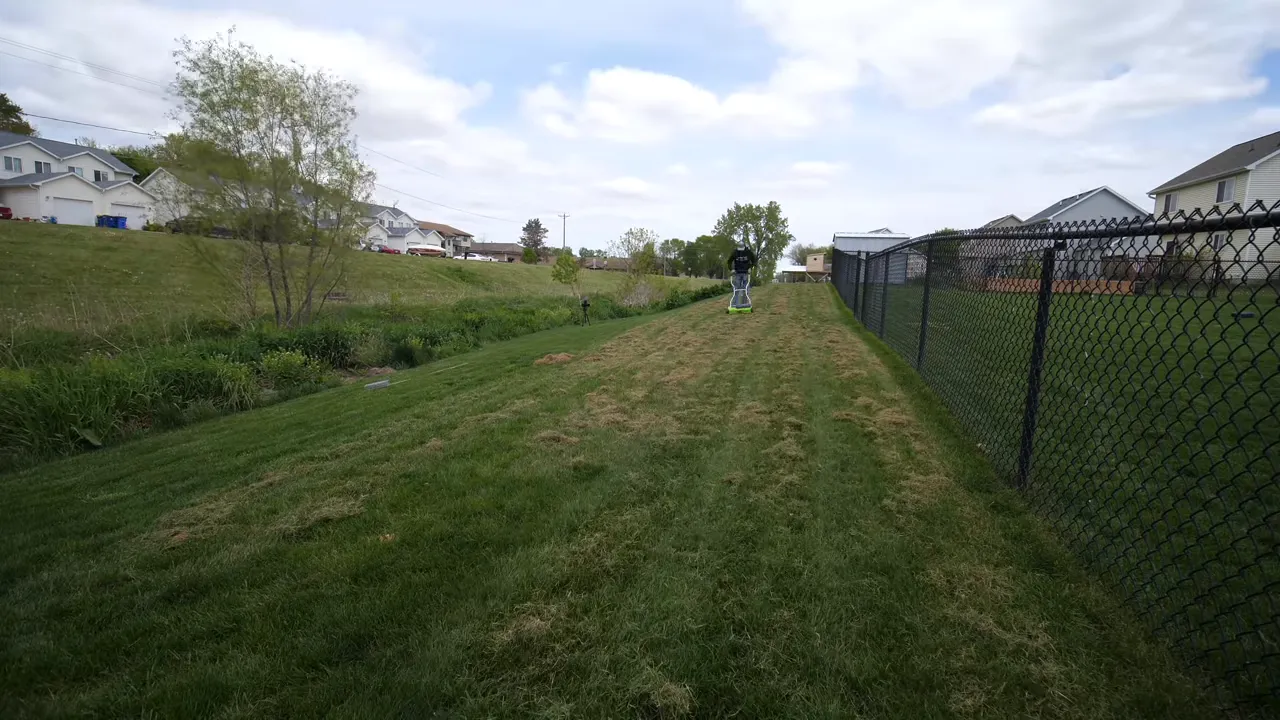
The first time you use one, you’ll probably be surprised by the pile it leaves behind. Even when you know there’s buildup, seeing it all laid out on the surface is a little eye-opening. That pile is exactly the problem you’re removing.
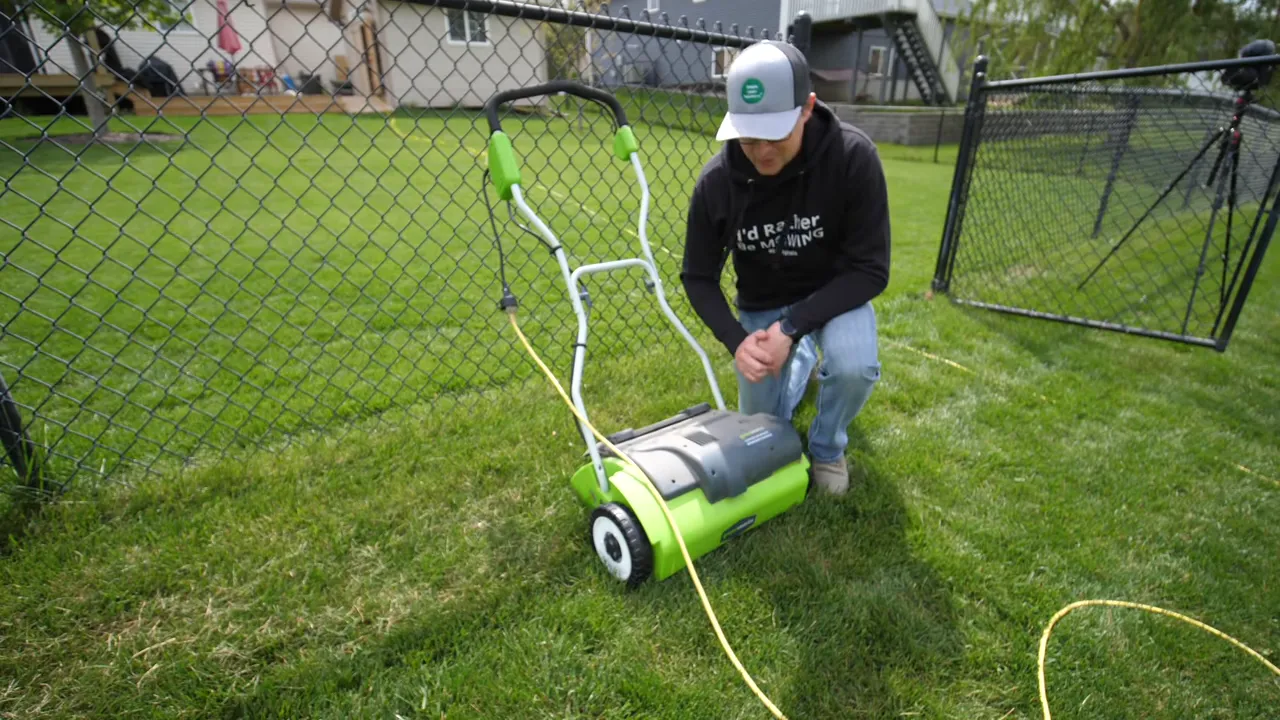
This is a solid middle-ground tool. More effective than raking an entire lawn by hand, and less aggressive than a rental machine.
Option 3: Rental Power Rake for Bigger Jobs
If you’ve got a large area or you just want to get it done fast, a rental power rake from your local equipment shop is an option. These are gas-powered, heavier-duty machines with metal blades that hit harder and cover ground quickly.
Just know going in: they are more aggressive. That’s not a problem if conditions are right, but if the lawn is already stressed or heat is coming soon, too much aggression can really set things back. This is the heavy-duty option, not always the gentle one.
Common Mistakes I See Homeowners Make
After working with homeowners across Madison, Norwich, Groton, Clinton, and Guilford for 41+ years, I’ve seen the same patterns repeat themselves. A few that come up regularly with dethatching:
- Skipping the cleanup. I’ve seen this happen dozens of times. People put in the work to dethatch and then just leave the pulled material sitting on the surface. You’re not solving the problem at that point, you’re just moving the pile. Get a bagging mower over it or rake it up and bag it.
- Dethatching at the wrong time. Dethatching a lawn that’s already heat-stressed and heading into summer is one of the more common mistakes I see. The timing window matters.
- Skipping aftercare. People do the hard part and then don’t follow through with fertilizer and water. You just opened up the turf. Give it something to recover with. A good fertilizer application after dethatching makes a real difference in how fast the lawn bounces back.
- Assuming the lawn is dead. Honestly, this one breaks my heart a little. Homeowners look at a thinning lawn and figure it’s time for a full renovation. Sometimes it is. But a lot of the time, what the lawn needs is just to breathe again.
What to Do After Dethatching: A Simple Aftercare Checklist
Once the debris is out and cleaned up, give the lawn a little support. Here’s a straightforward approach:
- Bag or rake up all pulled material. A mower with a bagger works faster than hand-raking. Don’t leave it sitting on the surface.
- Touch up any thicker spots by hand with a manual rake. Some areas hold more buildup than others and may need a second pass.
- Apply fertilizer to support recovery and help the turf fill back in.
- Water it in if rain isn’t in the forecast for the next day or two.
- Watch the temperatures. You want the lawn recovering in cooler conditions, not fighting summer heat at the same time.
That combination covers the basics. You’ve removed the obstacle, now you’re giving the grass what it needs to respond. The lawn should start looking noticeably cleaner pretty quickly, and mowing gets easier too once all that tangled debris isn’t wrapped up in the turf.
One Thing Worth Mentioning About Our Compost Tea Program
This is a side note, but I think it’s worth bringing up. One reason some of our long-term program customers rarely have to deal with this problem at all is our compost tea treatments. When you build a healthy microbial population in the soil, the organic matter at the surface breaks down naturally. It’s part of why we say compost tea essentially acts as a natural dethatcher over time.
It doesn’t mean thatch buildup is never an issue, but it does mean the problem tends to be a lot more manageable. Something to think about if you’re tired of dealing with this every few seasons. That’s a conversation worth having with our team if you’re curious about it.
Still Dealing With a Struggling Lawn? We’re Happy to Take a Look
If your lawn has been thinning out and you’re not sure whether dethatching is the right fix or if something else is going on, give us a call. We do a free lawn evaluation and can usually tell you pretty quickly what’s happening and what makes sense to do about it.
We’ve been serving homeowners across Madison, Norwich, North Franklin, Groton, Clinton, Guilford, Ledyard, Stonington, and communities throughout Eastern Connecticut since 1983. Over 3,000 active clients trust us with their lawns, and our 90% program retention rate reflects that we take this work seriously.
When you call, you get a real person who knows this area. That’s always been important to us.
Phone: (860) 642-9966
Website: lawnscience.com