
Lawn Care Norwich: 4 Steps to Revive a Brown Spring Lawn (Plus a Simple Repair Option)
Hey Norwich — Steve Bousquet here with American Landscape & Lawn Science. We’ve been working on lawns across Norwich, Franklin, Lisbon, and Preston for over 41 years, and every spring the same question comes up: “Why does my yard still look brown even though it’s warm out?” I recently came across a helpful video from the folks over at Pest and Lawn Ginja that walks through exactly this — four things you should do first before anything else in spring. Good stuff. That said, lawns here in Norwich have their own set of challenges. Between our heavier soils, the cold snaps that hang around longer than you’d expect, and the general wear of a New England winter, there are a few things worth adapting for this area specifically.
Video and screenshots are used for commentary and educational purposes. Pest and Lawn Ginja is not affiliated with or endorsing American Landscape & Lawn Science.
Why Norwich Lawns Struggle More in Spring Than You Might Think
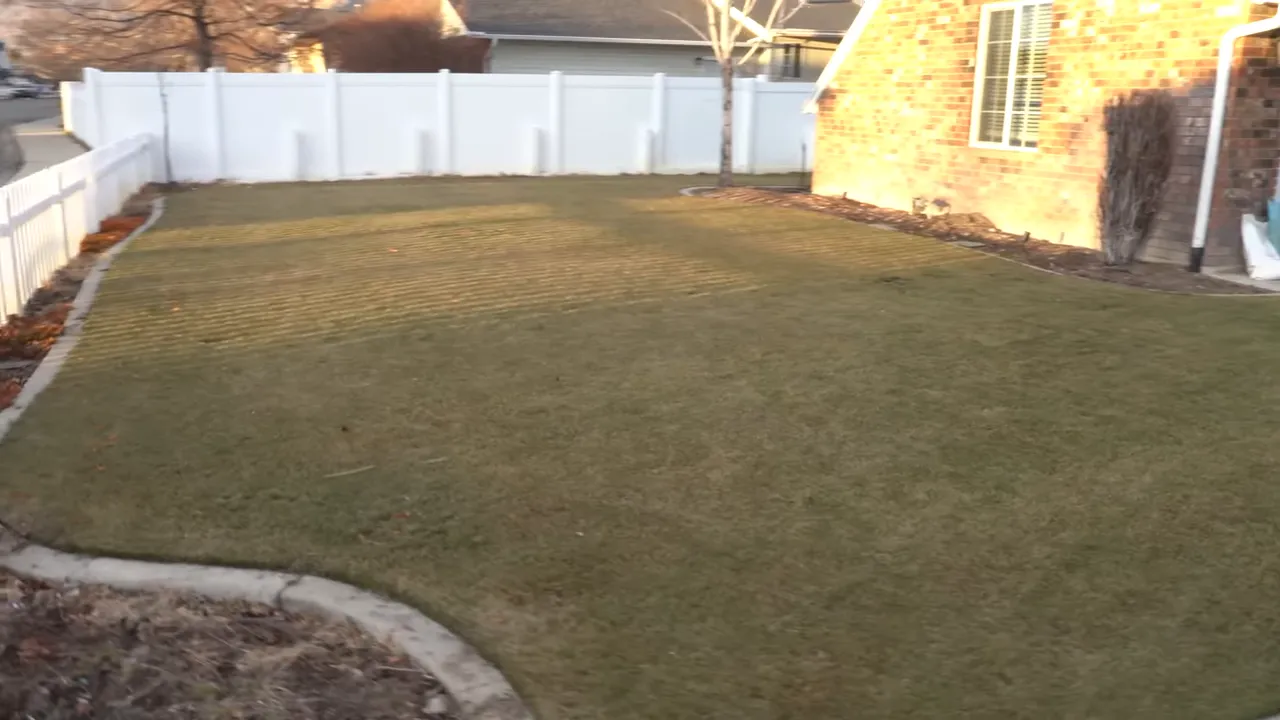
Norwich sits inland compared to our shoreline service areas, and that changes the spring timeline. We don’t get the same moderate temperatures that slow-thaw the coast. Up here, you can have freezing nights well into April, and the soil — which in a lot of Norwich yards runs heavier with clay content — holds onto that cold longer. What that means practically is that your lawn can look like it’s waking up on the surface while the root zone is still basically dormant. That’s exactly when people make the mistake of feeding too early and wondering why nothing happened.
I’ve been doing this for over four decades. With more than 3,000 active clients across Eastern Connecticut — including a lot of homes right here in Norwich and the surrounding towns of Franklin, Lisbon, and Preston — I can tell you that the lawns that green up fastest every spring aren’t the ones that got the most fertilizer. They’re the ones that got cleaned up and prepped properly first. That’s the whole point of these four steps.
Step 1: Scalp Mow to Clear Out the Dead Stuff on Top
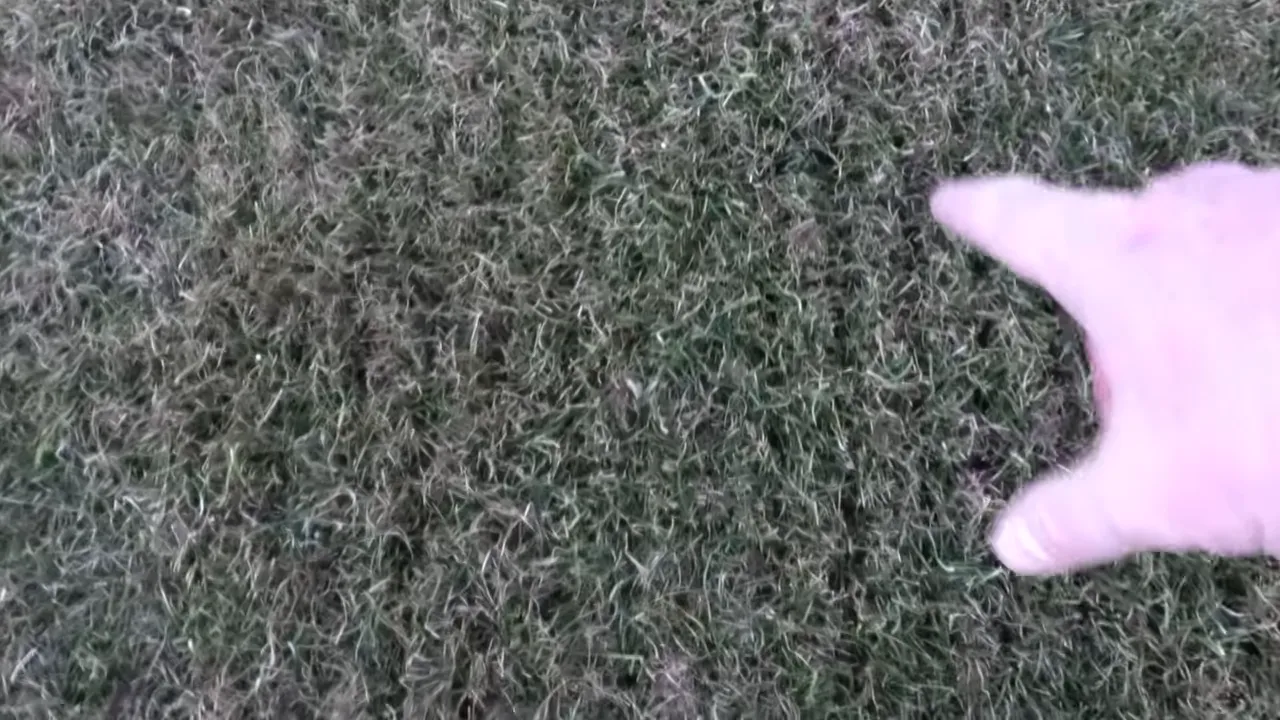
The first thing I recommend for Lawn Care Norwich yards coming out of winter is a scalp mow — bringing the mower down lower than your typical cutting height to remove that brown, dead layer sitting on top of the turf. You’re not trying to stress the lawn permanently. You’re trying to cut off the dead tissue that’s literally blocking new growth from showing up.
Think of it like pulling a tarp off something that’s been sitting outside all winter. The green is under there. It just needs the dead layer gone so it can breathe and show. Once you scalp mow, everything else you do becomes more effective — the dethatching, the fertilizer, all of it works better when the surface is clean.
Step 2: Dethatch So Nutrients Can Actually Get to the Soil
After you scalp mow, you’ve got a lot of debris sitting on the surface — tangled dead grass, thatch buildup, the remnants of everything that accumulated over the fall and winter. That stuff needs to come off. Not just for looks — because it is ugly — but because it actively blocks water and fertilizer from reaching the root zone where it matters.
In heavier clay soils — which are pretty common in parts of Norwich and the surrounding area — thatch buildup compounds the drainage problems you already have. Clay doesn’t move water fast to begin with. Add a thick layer of thatch on top, and you’ve got fertilizer that’s essentially sitting on a mat instead of feeding your grass. A good dethatch before you do anything else is the difference between results and wasted product.
Step 3: Scarify to Open the Lawn Up and Encourage Fresh Growth
Scarifying goes a step further than dethatching. Where dethatching clears the surface, scarifying actually cuts grooves down into the turf and disrupts the compacted layer that builds up in the root zone over time. The goal is to give new grass room to come in strong.
I know it looks rough when you’re done. Track marks, bare spots, the lawn looking worse than when you started — that’s normal and it’s actually a sign it’s working. You cut through the barrier that was keeping things from growing. Give it a week or two and you’ll see why it was worth doing.
One important note here: if you’re planning to use a pre-emergent weed control product — which is smart for crabgrass prevention in Norwich — be careful with your timing. Scarifying or dethatching after you’ve applied pre-emergent can disrupt how that treatment works by breaking the chemical barrier in the soil. Plan your sequence before you get started so you’re not undoing your own work.
Step 4: Feed the Lawn Once It’s Actually Ready to Eat
Here’s where a lot of Norwich homeowners go wrong every spring — they fertilize before doing any of the steps above and then wonder why the lawn doesn’t respond. I’ve seen this happen hundreds of times. The fertilizer goes on, the dead thatch sits on top of it, the soil is still cold, and the nutrients either run off or leach out before the grass ever has a chance to use them.
Once you’ve scalp mowed, dethatched, and scarified, the lawn is finally in a position to actually absorb what you put down. For spring green-up, the focus is nitrogen — but the approach should be steady and gradual, not one heavy shot. I’d rather feed a lawn a conservative amount and come back in a couple weeks than dump a full dose on cool-season turf that’s still coming out of dormancy. Slow and steady wins this race every time.
At American Landscape & Lawn Science, our lawn care programs use organic-based fertilizers specifically because they feed gradually and build soil health over time — not just a quick green that fades in a few weeks. Our treatments are water-based and pet and family friendly, so once they’re dry you’re good to go back outside.
Got Bald Spots? Spring Is the Time to Deal With Them
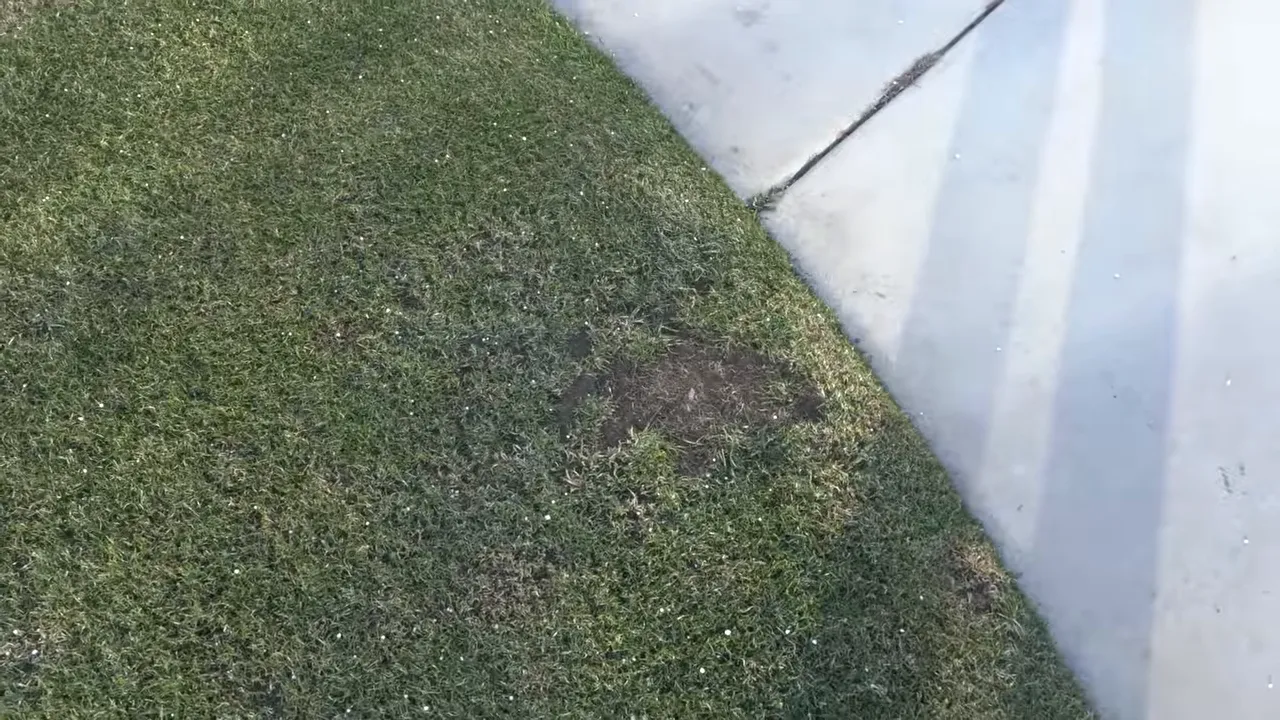
If the scarifying or the winter itself left you with bare areas, spring is a reasonable time to address them — though I’ll be honest, fall is still the better window for seeding in Connecticut. If you do seed in spring, keep the area consistently damp for at least three to five weeks. Seed germination stalls out fast if the soil dries between waterings. And don’t expect instant results — larger repairs can take close to six months to fully fill in. That’s not a failure, that’s just how cool-season turf works.
One thing that helps in our area is dormant seeding when we still get cold snaps. Seed put down while temps are still cool can still germinate well once conditions stabilize — just keep it moist and give it time.
Mistakes I See Norwich Homeowners Make Every Spring
- Fertilizing first, cleaning up second. It should always be the other way around. Clean the lawn, then feed it. Fertilizer on top of dead thatch is fertilizer that doesn’t do its job.
- Skipping the scalp mow because it “looks drastic.” It does look aggressive. It’s supposed to. You’re removing dead tissue, not damaging healthy grass.
- Scarifying after pre-emergent is already down. This breaks the chemical barrier you just paid to put in place. Sequence matters — decide what you’re doing before you start.
- Overwatering seeded areas or watering inconsistently. New seed needs steady, light moisture — not one good soak and then nothing for three days. Keep it damp consistently.
- Expecting fast results from seeding in spring. Fall is the better window. If you’re patching in spring, set realistic expectations and stay patient with the watering.
Spring Lawn Reset Checklist for Norwich, CT Homeowners
- Scalp mow to strip dead top tissue and expose what’s still alive underneath.
- Dethatch to remove the surface debris and open up water and nutrient pathways to the soil.
- Scarify to cut grooves through the compacted layer and give new growth room to come in.
- Time your pre-emergent weed control before scarifying/dethatching — don’t disrupt it after the fact.
- Apply nitrogen-focused fertilizer using a slow, steady approach once the lawn is actively growing.
- Seed bald spots and keep consistently damp for three to five weeks.
- Water for consistency, not volume — light and regular beats heavy and infrequent in spring.
We Help Norwich Lawns Get There Faster — Let’s Talk
If your yard still looks like it missed spring, you don’t have to figure this out on your own. We’ve been serving Norwich, Franklin, Lisbon, Preston, and communities throughout Eastern Connecticut for over 41 years. With a 90% program retention rate and over 100 five-star reviews, our clients stay with us because they see real results season after season.
Our All-American Lawn Care Program covers everything — organic-based fertilization, crabgrass control, broadleaf weed control, surface insect and tick treatments, and more — all tailored to what Eastern Connecticut lawns actually need. No national cookie-cutter programs. Just local expertise applied to your specific yard.
Get your free lawn assessment this spring:
- 📞 Call our Norwich office: (860) 887-2344
- 📞 Main office: (860) 642-9966
- 🌐 Visit us online: lawnscience.com
- 📍 Norwich Office: 43 Gulliver Circle, Norwich, CT 06360
Serving: Norwich · Franklin · Lisbon · Preston · Groton · Lebanon · Colchester · Tolland · Essex · Old Saybrook · Madison · Clinton · Guilford and communities throughout Eastern Connecticut.
Follow Us for More Lawn Care Tips
Get FREE Grub Control
when you sign up for our 5-Step Lawn Care Program.
